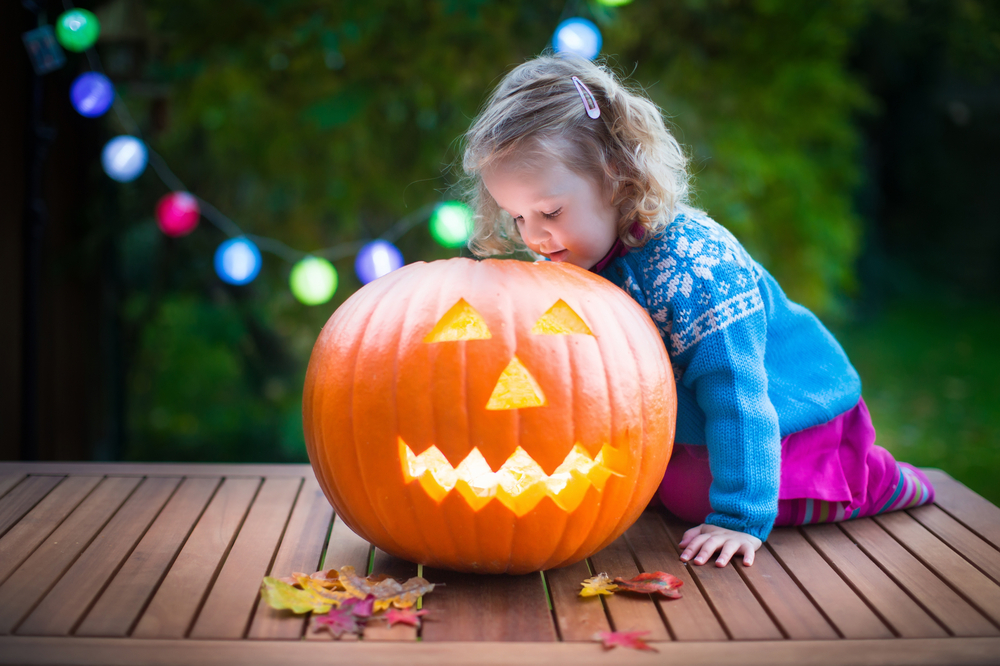
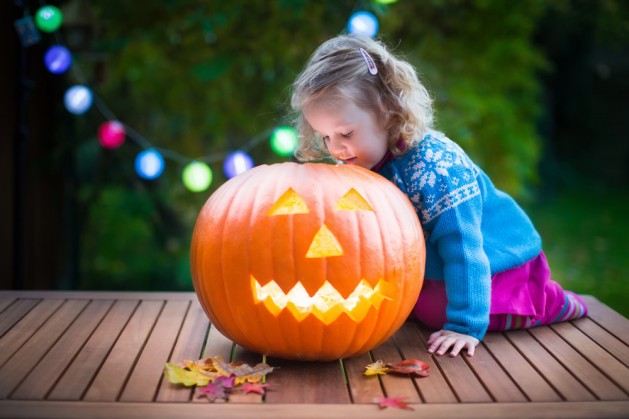
There was a time when carving pumpkins was all about tradition. It didn’t matter what you were carving, as long as you were a part of the tradition. But in a world of Instagram and Pinterest, carving pumpkins has truly reached a new and competitive level.
From using scrap paper to power tools, people are leaving no stone unturned. And you shouldn’t either.
Here are some of the easiest tips for carving pumpkins to perfection! It’s time to make your neighbors jealous.
Dig in with petroleum jelly
Carving a pumpkin might be the fun part, but watching your hard work stale is definitely not. To slow down the dehydration process of pumpkins, brush a thin film of petroleum jelly all over the carved surface, including the insides. The petroleum jelly actually acts as a protective barrier shield, which makes pumpkins stay fresh for a longer period of time.
Use an ice cream scooper
Taking out the pumpkin gut with normal spoons not only takes longer, but it can also lead to bent spoon handles. Instead, use an ice cream scooper for a quick scooping session.
Use stencils for a more precise cut
Let’s be honest, drawing on a pumpkin is hard, especially when you’re trying to nail a specific design. Instead, you can use a stencil. Print out the design you want from the internet. Place the paper on the pumpkin, and start dotting the design.
Once you are done dotting, you can carve the pumpkin in the exact same shape you imagined.
Ditch Sharpies and use dry erase markers instead
Most people use Sharpies to draw designs on pumpkins before carving them. But what about those weird extra lines that stay on the pumpkin even after it’s carved?
That’s why you need to ditch Sharpies and use dry erase markers instead. Once you’re done carving, all you have to do is wipe the pumpkin with a wet cloth and you’re done.
String lights for easy access
Instead of using candles like everyone else, opt for string candles. Start by wrapping a strand of lights around a medium sized mason jar. Secure the whole thing with tapes, then cut a small hole in the pumpkin for the cord, and you are done.
Preserve pumpkins with bleach
Another great way to preserve pumpkins for longer is by brushing them with a bleach solution. To make the solution, add one part bleach in ten parts of water, and pour it into a spray bottle. The bleach destroys any bacteria on the pumpkin that might otherwise rot the pumpkin.
Of course, do not eat these pumpkins.
Put silica gel in pumpkins
To avoid molds or excessive moisture from destroying the pumpkin, put some silica gel inside. You might have found silica gel packets in new shoeboxes or handbags. Instead of buying new ones, you can just recycle some of the old ones.
Add drama with glow in the dark paint
Let’s be honest, everyone loves glow in the dark paints, and it gets even better when adding a glow in the dark effect while carving pumpkins.
Take out your drilling machine
The easiest and quickest way to add symmetrical dots is by taking out a drill machine when carving pumpkins.
Turn your pumpkin into a keg
Yes, we saved the best idea for last. First, you need to get a spigot from the market. Now, start gutting the pumpkin and make a hole in the bottom section. Thrust the spigot in, pour some beers into the pumpkin and you are done.